If you are writing some Ring0 (or privileged mode code), say something like device drivers in Windows you’d probably be better served with a separate development machine and a deployment machine. This helps you to write poor code and still not lose hair because your development machine blue screens! 🙂
My setup was using a Windows 8.1 development machine and a Hyper-V based Windows 7 machine for debugging. You will need to execute different tasks on the “guest” (Hyper-V based Windows 7 virtual machine) and some other tasks on the development machine. I followed many of the things from the MSDN blog post here
On your guest machine you would want to setup a named pipe and setup debug settings. To do that this is what you need to do:
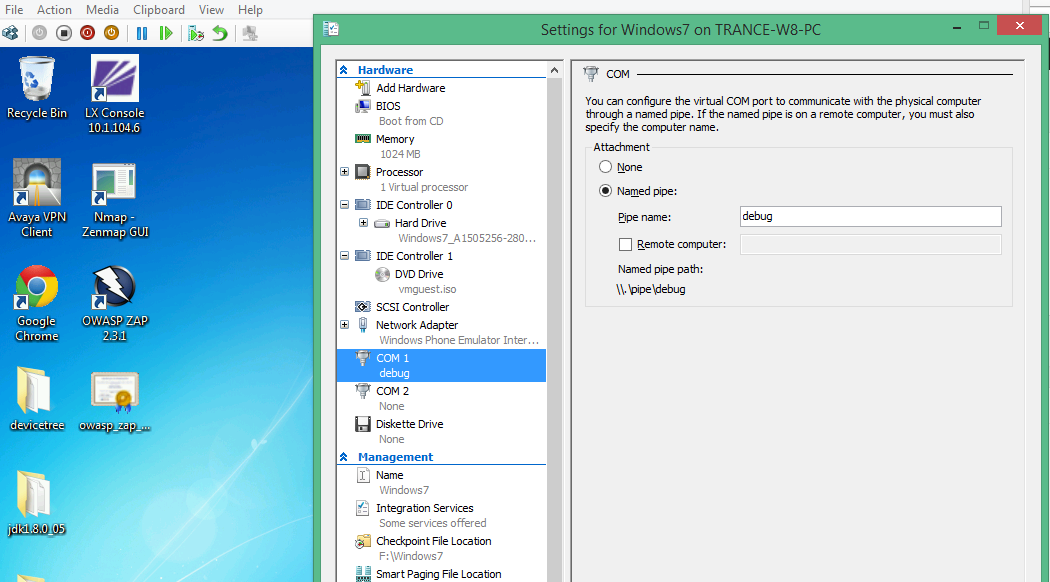
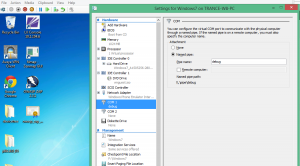
Setup a virtual com port in the Hyper-V Settings (File -> Settings) , this port will be used to communicate from the host machine to the guest to communicate the Kernel debugging commands.
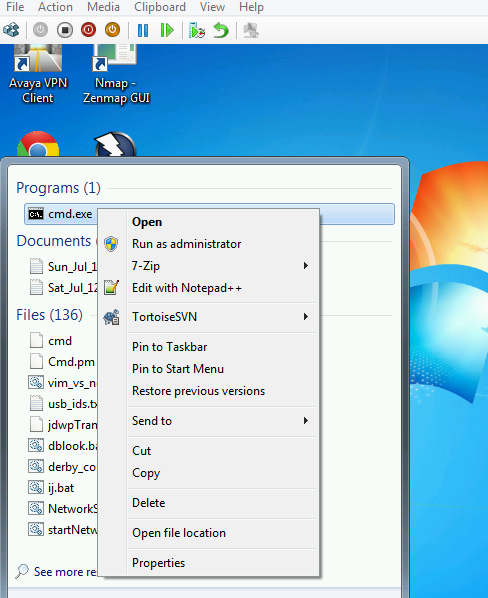
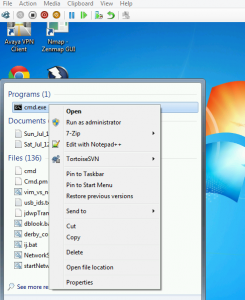
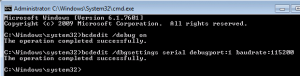
Now make sure that your target guest machine is configured to “listen” those commands. Inside the guest VM, start a command shell (cmd.exe -> Run as Administrator).
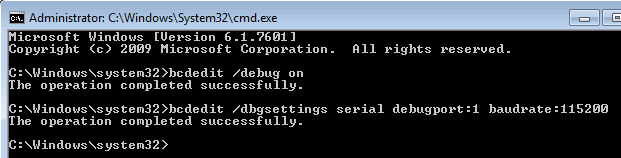
Configure the bcdedit commands so that the machine can now be debugged. Right after the 2nd command, reboot your Virtual Machine.
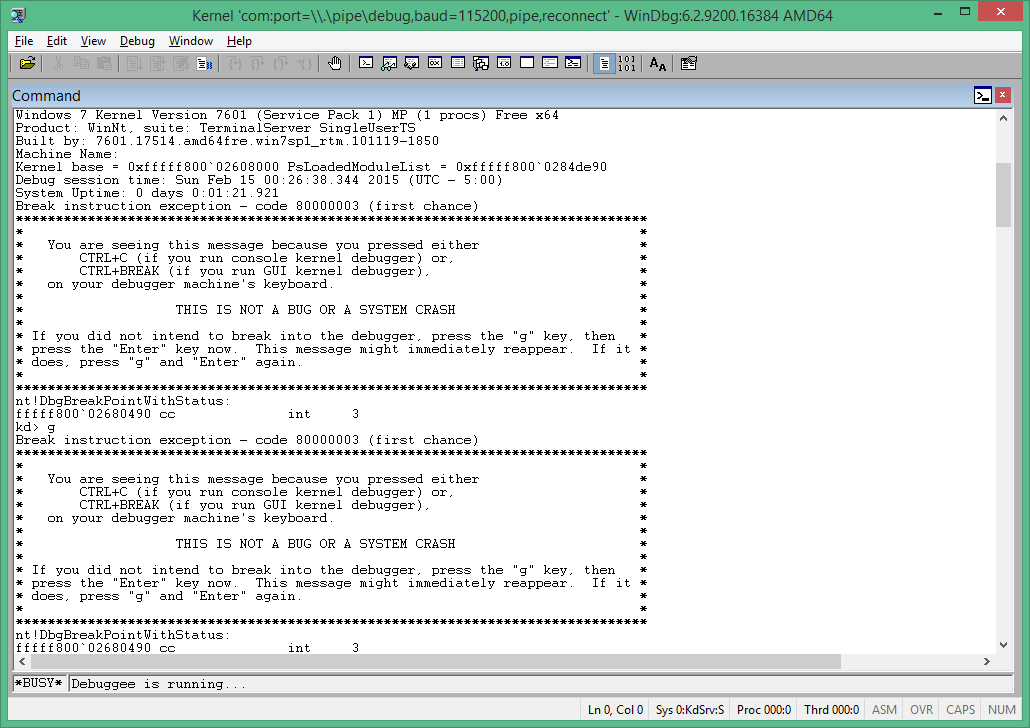
With the VM now configured to listen the debug commands via the COM1 port, and the debug mode on in the bootup settings, now start the WinDbg x64 on the host (using “Run as administrator”; you need administrative privileges for communication via Serial port). In your kernel debugger on the host or the development machine (I’m assuming that these are both on the same physical hardware here). Click on File -> Kernel Debug and you should see the following screen in the WinDbg window:
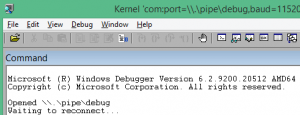
Hit Ctrl+Break or Debug -> Break and you will see something like this:

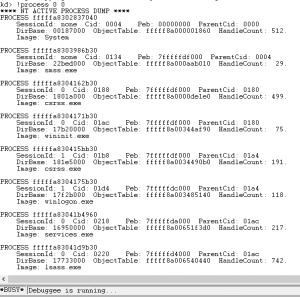
Just remember that when you break in the debugger, your guest in Hyper-V should become “unresponsive”. The only thing is that it is not really unresponsive, its just being debugged. Just to make sure, that you have the symbols package that is quite useful for debugging run the following command:
!process 0 0
If you see something like the following screen show up:

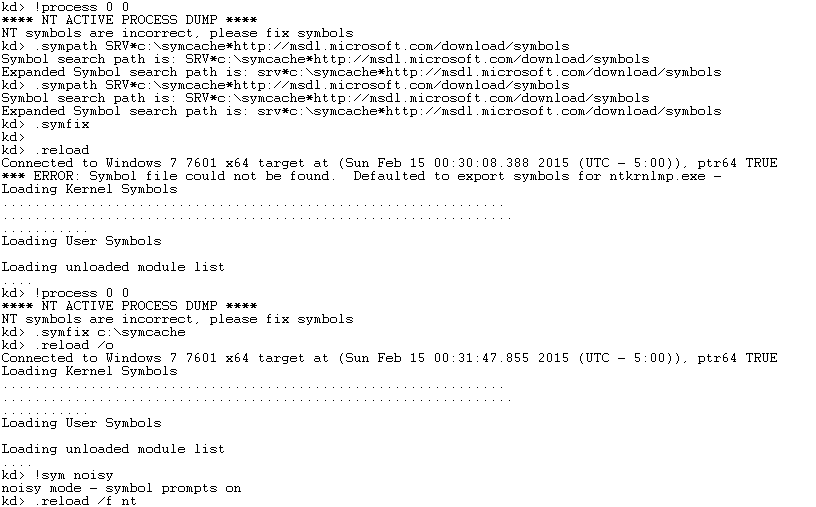
The following error means that the symbols are not defined. Symbols help the debugger give more information about the commands that you are going to execute in the debugger.
**** NT ACTIVE PROCESS DUMP ****
NT symbols are incorrect, please fix symbols
To fix this, use the following commands:
kd> .sympath SRV*c:\symcache*http://msdl.microsoft.com/download/symbols
kd> .symfix
kd> .symfix c:\symcache
kd> !sym noisy
kd> .reload /o
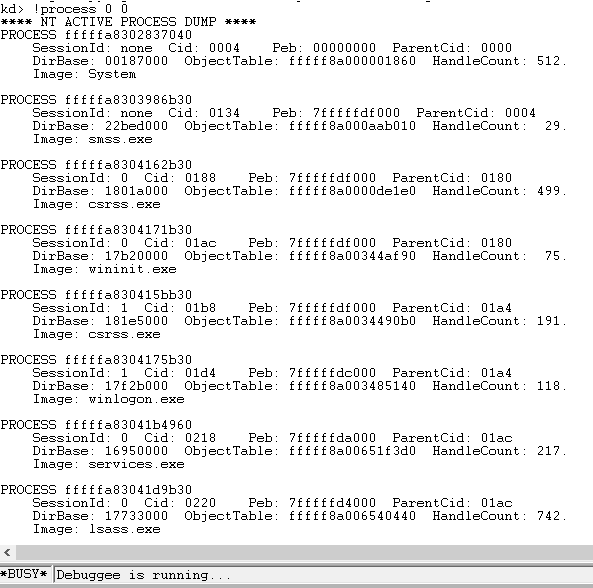
Then again try the command: !process 0 0 and see if you get a good response. A good response looks like the following:
With this you should be good to go! Happy debugging and writing cool Ring0 code.